Floorboard gaps
A floor can leak as much cold air as an open window. The fix is cheap and needs nothing more than patience and the right filler.
Materials and method
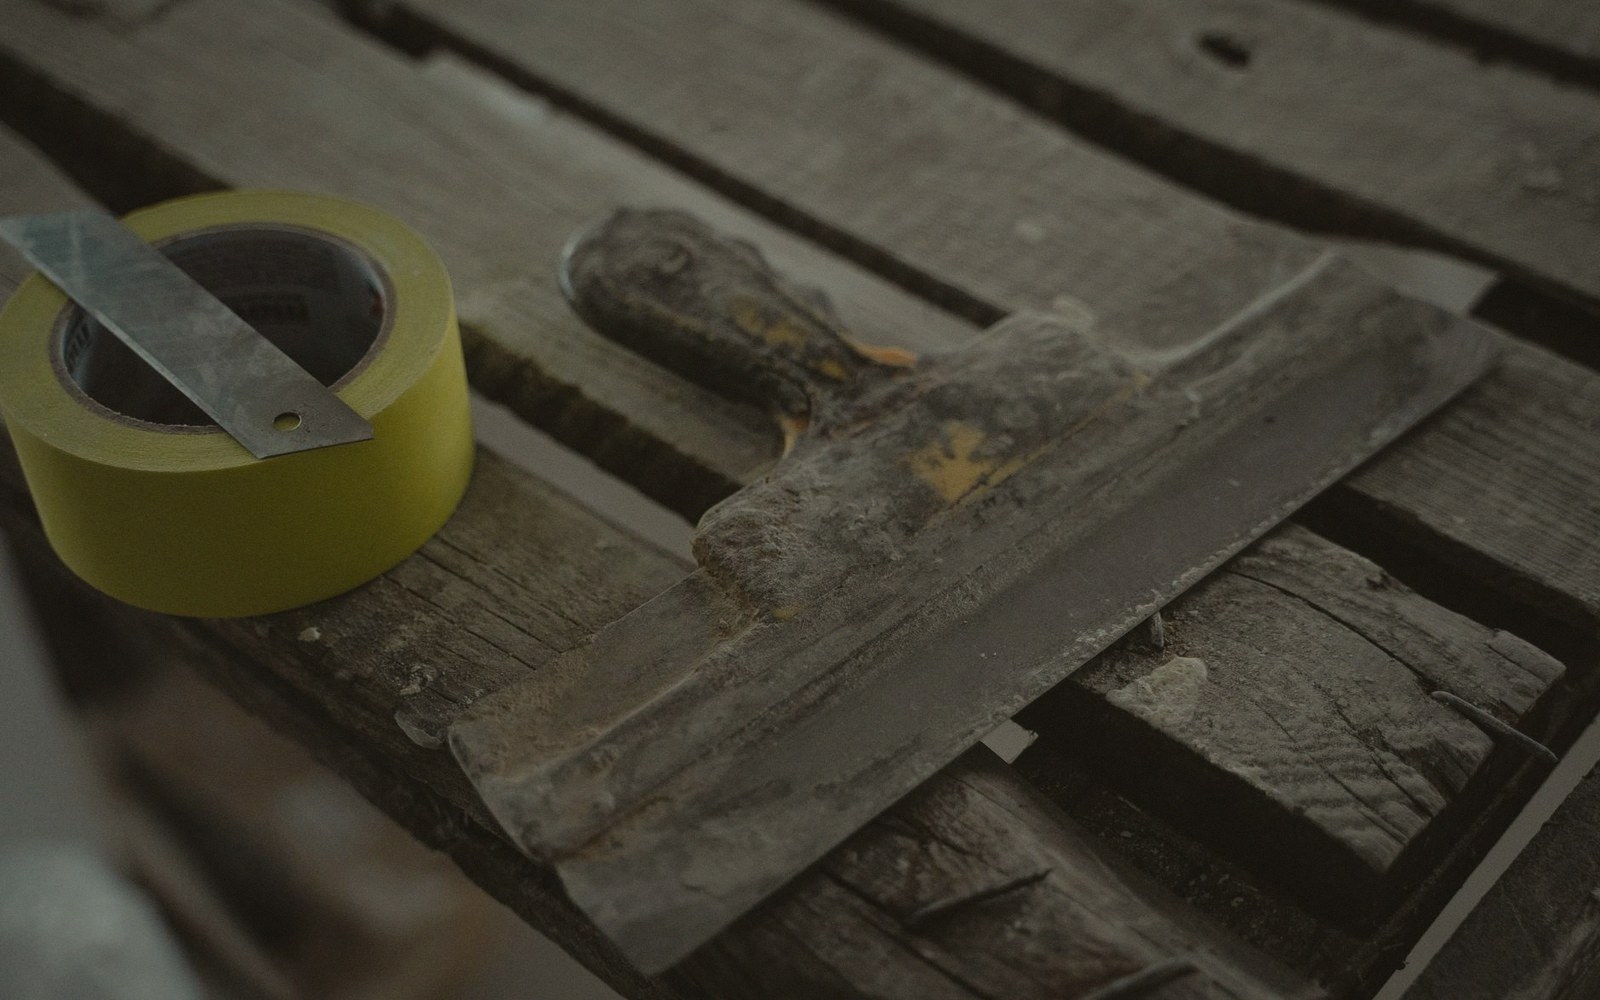
- Newspaper papier-mâché — torn newspaper soaked in water, mixed with PVA and wallpaper paste; a zero-cost flexible filler for settled gaps
- PVA adhesive — standard white woodworking glue, bonds the paper fill and helps it hold against minor movement
- Filling knife — a flat, flexible blade for pressing filler in and scraping flush
- Slip-fillets — thin wood strips glued and tapped into very wide gaps, then planed flat; more work but the most durable fix
Feeling the gap before filling it
Run your hand an inch above the floor on a cold, windy day and you will often feel a chill rising through boards you assumed were solid. Old suspended timber floors sit over an unheated void — sometimes open to outside air through airbricks — and every gap between boards is a direct channel. Gaps also carry noise, dust and, in older houses, a faint smell of earth.
Before anything else, find the gaps first: a smoking taper held close to the boards on a breezy day will drift toward any gap with real airflow. Mark the worst offenders with a pencil. Not every gap needs filling — boards expand and contract with humidity and temperature, and a perfectly rigid fill in a moving floor will pop out or crack within a season.

The question is whether you need a flexible fill or a hard one, and that depends on how much the boards move.
Choosing the right fill
For the narrow, relatively stable gaps in older floors that have settled over decades, a traditional papier-mâché technique works well and costs almost nothing: tear newspaper into small pieces, soak in water, squeeze out and mix with PVA adhesive and a little wallpaper paste to a stiff dough. Press it into the gap with a filling knife, overfill slightly, and leave it to dry fully — two days at minimum. Sand flush when dry. It shrinks a little as it dries, so pack it firmly. This mix is compressible enough to accommodate minor seasonal movement and does not crack as readily as a rigid filler.
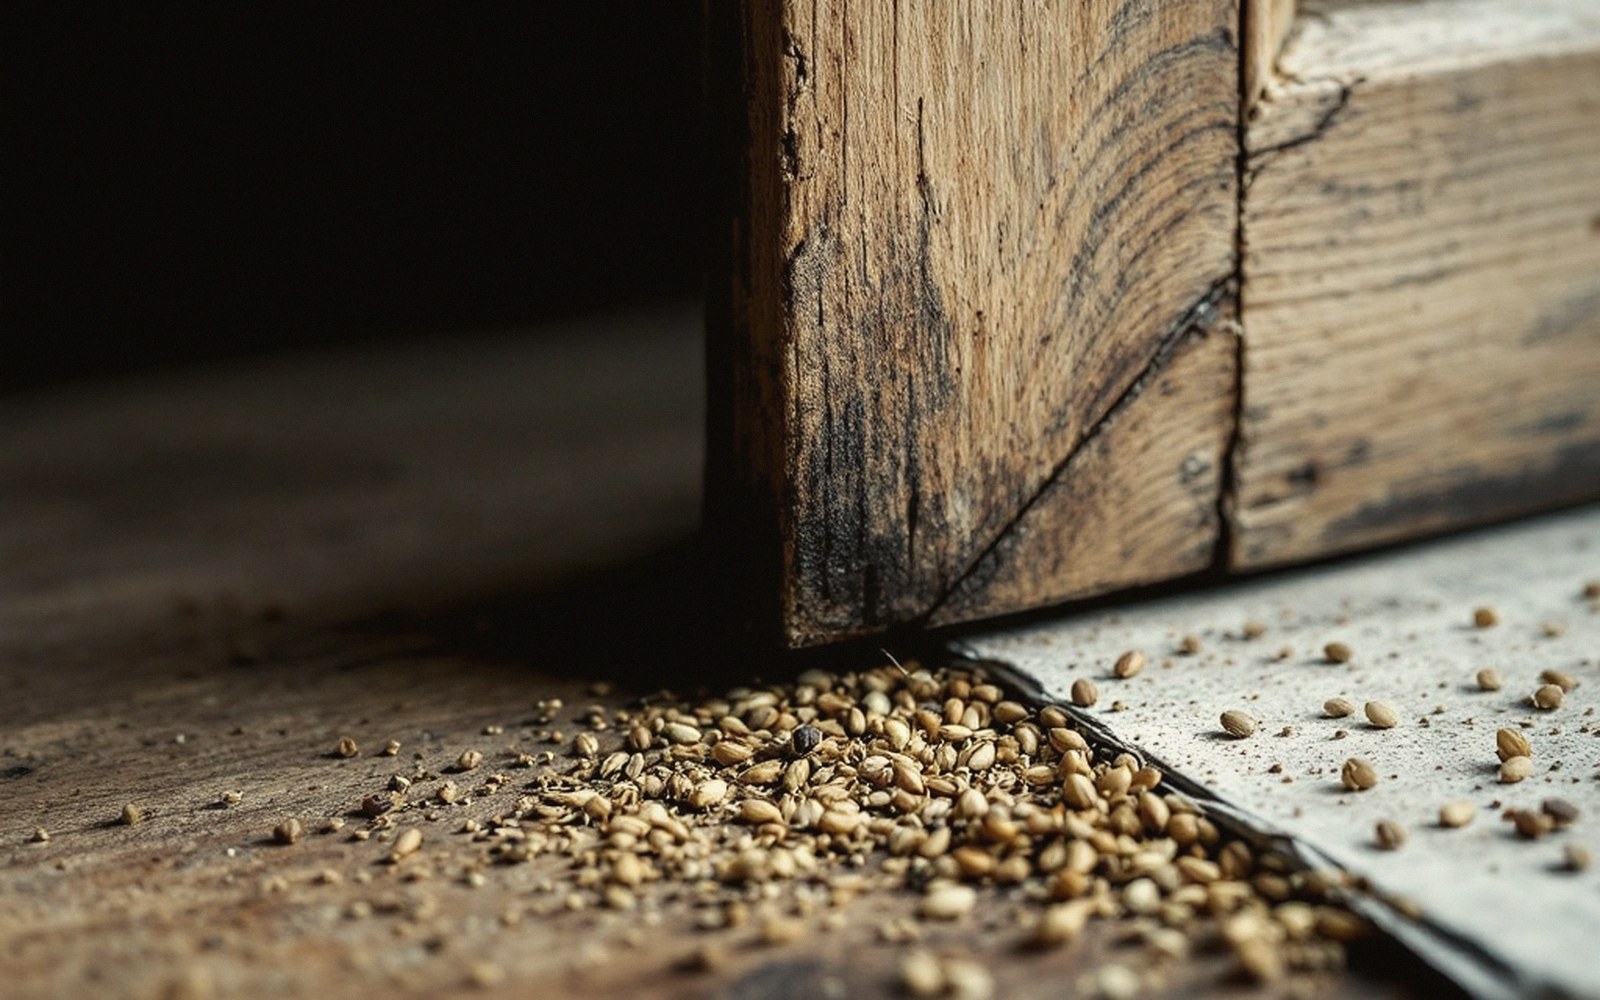
Wider gaps, or gaps in boards still prone to movement, want a proper flexible filler — the kind sold for wood. Whatever you use, clean the gap first: a flat-bladed tool or old kitchen knife dragged along the gap removes grit and old filler that would stop the new material bonding. A cold, dirty channel bonds to nothing.
Where boards have shrunk so far apart that no filler would stay put, thin strips of wood — called slivers or slip-fillets — can be glued and tapped in, then planed flush. This is slower work, worth it only for the most draughty sections.
Once filled and sanded, an unsealed bare board will let air back through its surface grain quickly. A coat of wax, oil or floor paint over the repaired area seals the surface and keeps dust from settling into any hairline cracks that do appear later.
The question is whether you need a flexible fill or a hard one, and that depends on how much the boards move.
Where we stop
No mains electricity, gas, water mains, boilers, flues, roofs, ladders past single storey, structural work or anything requiring a qualified person. If a job could hurt somebody, it is not in this register.