A puncture
A flat tyre on a bike, a wheelbarrow or an inflatable: the repair is the same five steps, and only the last one is hard to be patient about.
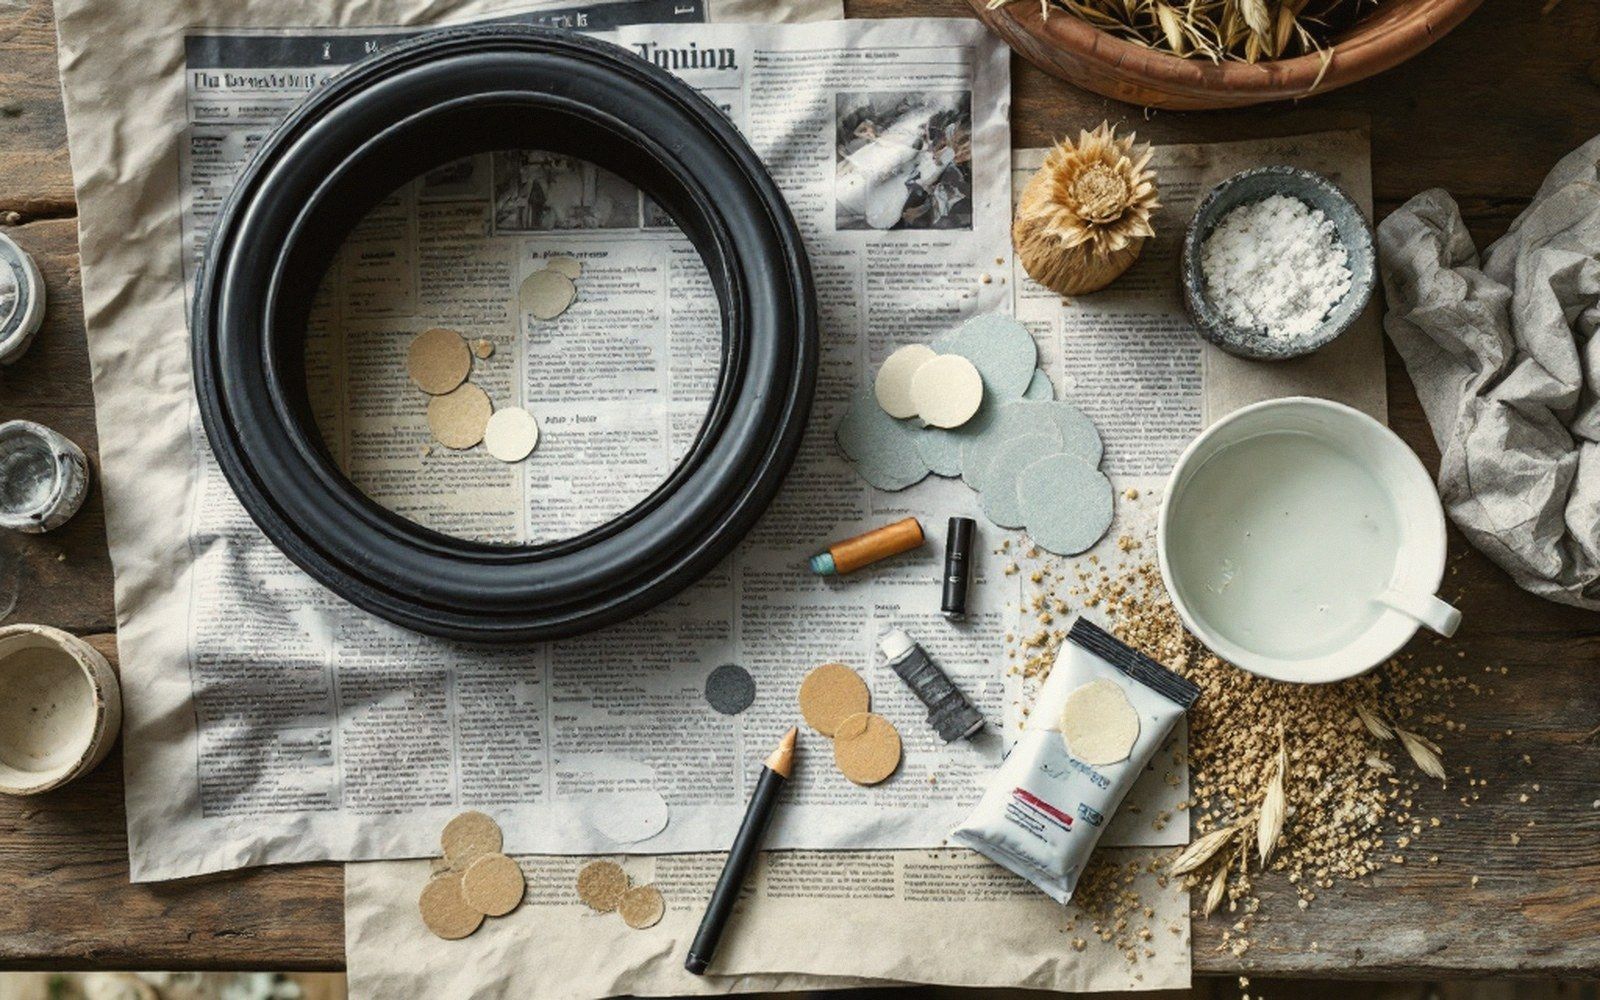
What you need
- Bucket of water — for finding the hole by submersion
- Biro or thumbnail — for marking the spot before drying
- Sandpaper (medium grit) — to abrade the rubber surface before gluing
- Vulcanising solution — the contact adhesive in most repair kits; bonds by chemical fusion, not surface stickiness
- Patch — sized to cover the hole with a margin all around
- Clean dry cloth — for wiping dust after sanding
Find it, fix it, wait
Before anything else, you need the hole. Pump the tyre enough to hold air — not fully inflated, just firm — then submerge sections of it in a bucket of water. Work slowly around the full circumference; bubbles give the spot away. Mark it with a biro or thumbnail, dry the area thoroughly, then let it sit until the rubber is genuinely dry to the touch, not just surface-dry. Water under a patch is a wasted patch.

Roughen the marked area with sandpaper — medium grit, a circle slightly larger than the patch you're using. You're not trying to damage the rubber; you're abrading the smooth skin so the adhesive has something to grip. Wipe off the dust with a clean dry cloth. Skip this step and the patch peels; it's that simple.
Almost every puncture repair kit uses vulcanising solution — a contact adhesive that bonds rubber to rubber by chemically fusing the surfaces rather than just sticking them. Apply a thin, even coat to the roughened area and spread it a little wider than the patch. Now stop. Put the patch down and wait. The solution needs to become touch-dry — tacky but not wet — before you press anything onto it. In a warm room this takes two or three minutes; in the cold or damp, longer. Testing it every thirty seconds is counterproductive: every touch deposits a fingerprint and contaminates the surface.

When the adhesive is ready, peel the foil backing from the patch — not the thin clear plastic film on the face, which stays on until after bonding. Centre the patch over the hole, press it firmly from the middle outward, and hold steady pressure for at least a minute. Use your thumb, a coin, or the handle of a screwdriver — anything that lets you press hard across the whole surface. Then leave it alone for as long as you can bear. Fifteen minutes before re-inflation is the floor; an hour is better. Overnight is best of all. The bond continues strengthening long after the patch feels set.
Re-inflate slowly. Run a soapy finger around the patch edge to confirm no bubbles form. If they do, you pressed too fast or waited too short — deflate, press again with more force, wait again.
The patch that fails almost always failed in the preparation. Dry surface, roughened surface, properly tacky adhesive, firm even pressure, genuine waiting time: these are not optional steps shortened by experience. They are the job.
Almost every puncture repair kit uses vulcanising solution — a contact adhesive that bonds rubber to rubber by chemically fusing the surfaces rather than just sticking them.
Where we stop
No mains electricity, gas, water mains, boilers, flues, roofs, ladders past single storey, structural work or anything requiring a qualified person. If a job could hurt somebody, it is not in this register.